

Sharo Lun Shrine Guide: Blind Spots (BotW)
Follow Death Mountain’s ring course, ride Sharo Lun’s hanging blocks past flames and spikes, and catch the Great Flameblade chest in Breath of the Wild.
How do you reveal Sharo Lun Shrine?
In The Legend of Zelda: Breath of the Wild, this shrine belongs to EX Champion Daruk’s Song. Complete the four opening DLC shrines, then visit this Champion’s monument to start its trials. The Champions’ Ballad overview covers those prerequisites and the branch order.
Find the first blue ring near the summit of Death Mountain, then follow the successive rings down the mountain. Use the Paraglider between ledges and keep track of the next ring before leaving each landing. Pass the full course in order to reveal the shrine. Prepare protection against the volcanic heat before travelling to the starting point.
| Detail | Answer |
|---|---|
| Trial | Blind Spots |
| Main mechanic | Climb around hanging blocks, then switch to waterfall ice |
| Treasure | 1 chest: Great Flameblade |
| Completion reward | Rudania’s Emblem |
This is an additional DLC shrine and does not count towards the 120 base-game shrines.
How do you solve Blind Spots?
1. Change sides around the first flame jets
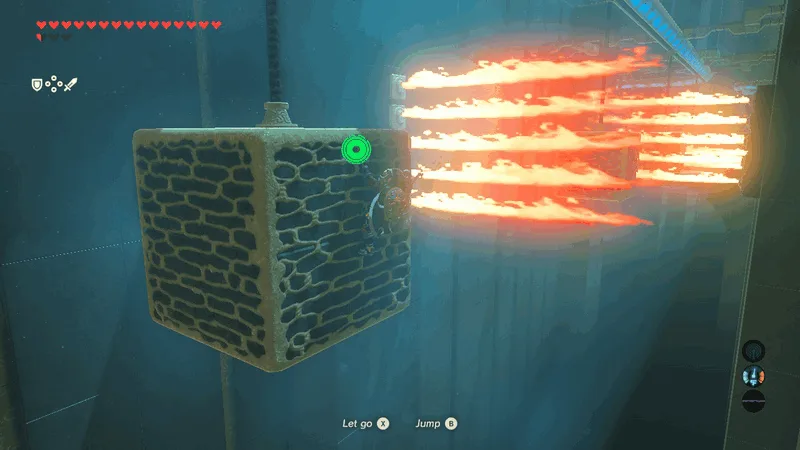
Grab the mesh on a moving block. With the block’s direction of travel as your reference, hang on its right side for the first flame jets. After passing them, move to the left side for the next set, then climb onto the top to pass the last flames below. Step off onto the fixed landing before the block reaches the end of its rail.
2. Pass the spiked pillars and remove the scouts
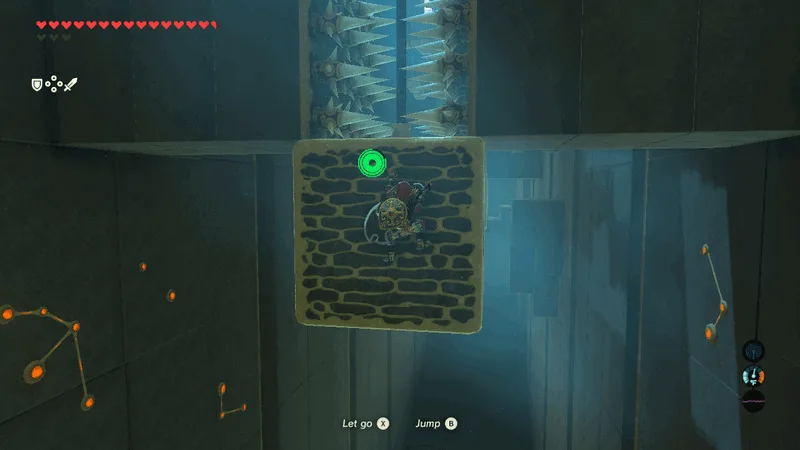
Board a block on the next track and cling to a side to pass the first spiked pillar. Once clear, climb onto the top and use your bow against the Guardian Scout I enemies on the platforms ahead. Move back onto the protected side before the final pillar arrives. Dismount onto the next landing to begin the waterfall section.
3. Leave the rail and catch the falling chest
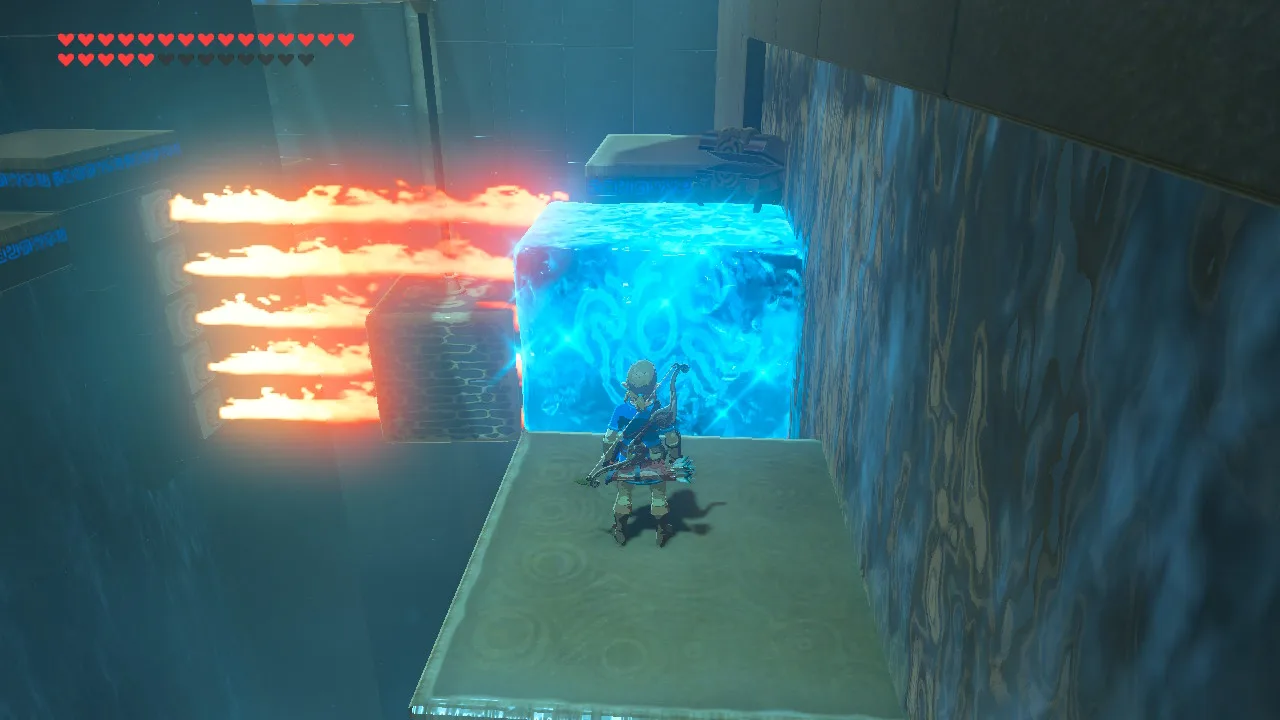
Prepare Cryonis before boarding the final track. At the first waterfall, make an ice platform and jump from the moving block to the fixed ledge via that ice. Watch the chest fall between the ledges. Place another ice block in its falling path, using it both as a catch and as a crossing. Open the chest once it lands safely.
4. Reboard beyond the fire and climb the final waterfall
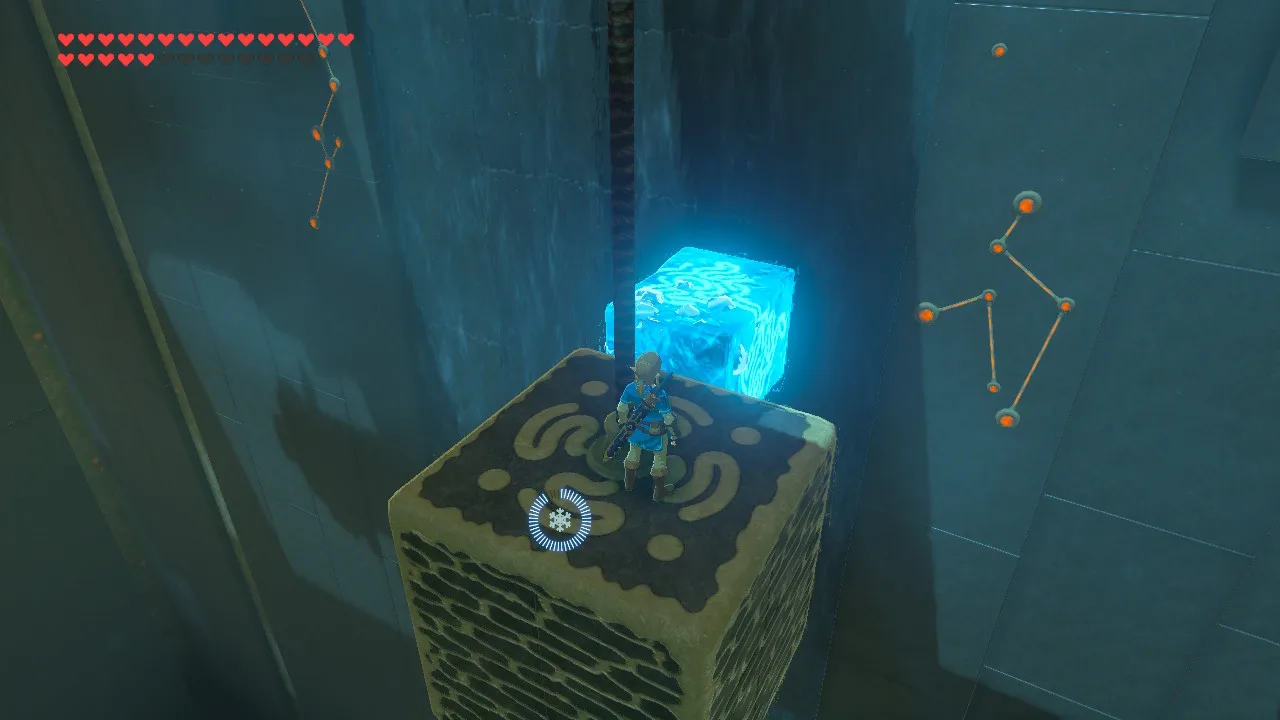
Wait on the safe ledge until an empty block has passed through the flame wall, then glide onto its top on the far side. Ride towards the next waterfall. Create an ice block to leave the moving block before its track ends, then build staggered ice steps up the waterfall to the monk’s landing.
Where is the treasure chest?
The only chest contains a Great Flameblade. It repeatedly falls at the first waterfall in the final track section. Make an ice platform beneath its falling path, between the fixed ledges, and wait for the chest to land. Retrieve it before boarding a block on the far side of the flame wall.
What can go wrong?
- A flame hits you on the block’s side: change sides before the next jet reaches you; the first track uses right, then left, then top.
- You fall at a track end: hanging blocks are discarded at the end. Step onto the landing rather than waiting aboard.
- A scout knocks you off: deal with it from the top during the clear section, then return to a side for the spiked pillar.
- The chest falls past your ice: move the ice directly into its drop line and wait for the next fall.
What do you receive, and where do you go next?
Speak to the monk for Rudania’s Emblem. The other shrines in this branch are Kamia Omuna Shrine and Rinu Honika Shrine. Collect all three emblems from this branch, then return to Divine Beast Vah Rudania for the memory rematch. This shrine awards an emblem rather than a Spirit Orb; the main walkthrough explains the next fight.
Related Articles
shrines
Kamia Omuna Shrine Guide: Moving Targets (BotW)
Defeat the Igneo Talus Titan at Lake Darman, time Kamia Omuna’s cannon shots, rotate the target cage, and recover its Diamond chest in Breath of the Wild.
shrines
Kee Dafunia Shrine Guide: The Melting Point (BotW)
Pass the sunrise ring, melt ice into stairs, reveal the Frostblade chest, and lift the final ice cube in Kee Dafunia Shrine in Breath of the Wild.
shrines
Keive Tala Shrine Guide: Big or Small (BotW)
Defeat the Molduking to reveal Keive Tala Shrine, connect its metal-and-water circuit, and solve the laser puzzle for a Radiant Shield in Breath of the Wild.
Was this helpful?
Thanks for the feedback!