

Yowaka Ita Shrine Guide: Collected Soul and Chests (BotW)
Clear the Forest of Spirits camp, catch the glowing orbs with Magnesis, and find the Phrenic Bow and Bomb Arrow chests in Yowaka Ita Shrine.
Where is Yowaka Ita Shrine, and how do you reveal it?
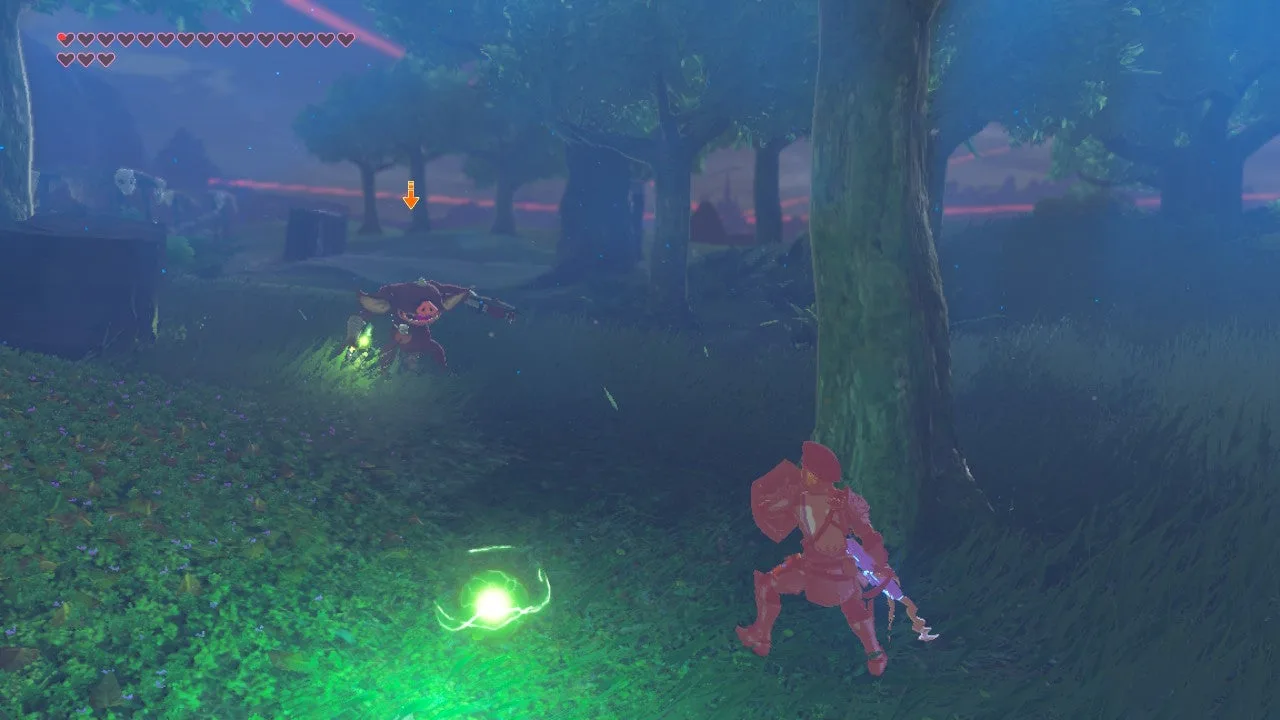
In The Legend of Zelda: Breath of the Wild, this DLC shrine appears in the Forest of Spirits, around the monster camp by the huge fallen tree. First start The Champions’ Ballad and take the One-Hit Obliterator. Defeat the enemies at the marked camp to reveal the entrance; simply visiting the forest before the trial is not enough.
| Detail | What to look for |
|---|---|
| Trial | Collected Soul |
| Region | Great Plateau — Forest of Spirits |
| Main mechanic | Catch and transport objects with a metal bowl |
| Chests | 2: Bomb Arrow ×5; Phrenic Bow |
| Availability | The Champions’ Ballad DLC |
This is an additional DLC shrine, separate from the 120 base-game shrine checklist.
How do you clear the Forest of Spirits camp safely?
- Scout the fallen tree from outside the camp. Look up for archers as well as along the ground. Trees can hide another Bokoblin behind the one you are targeting.
- Use your bow to remove exposed ranged attackers, especially those on the fallen trunk and the standing stump. Keep moving between cover instead of aiming while surrounded.
- Draw melee enemies out to an open edge and strike when the One-Hit Obliterator is glowing. If its charge runs out, retreat and wait; do not keep trading blows.
- Watch for Keese while repositioning. Even a small enemy can end the quarter-heart attempt. If the shrine has not appeared, check the camp again instead of charging further into the forest.
What should you prepare before entering?
You need Magnesis for the bowl. Keep the quarter-heart restriction in mind inside the shrine too: ordinary rolling rocks are dangerous as well as the spiked balls. The One-Hit Obliterator does not protect you from the course.
How do you solve Collected Soul?
1. Cross the first slope without carrying anything
Pause at the entrance and watch the rolling objects bounce off the obstacles. Move along the side of the slope between waves, using the raised edge where available, then cross a narrow walkway to the platform with the metal bowl. Keep the camera facing uphill so you can see an approaching ball before stepping out.
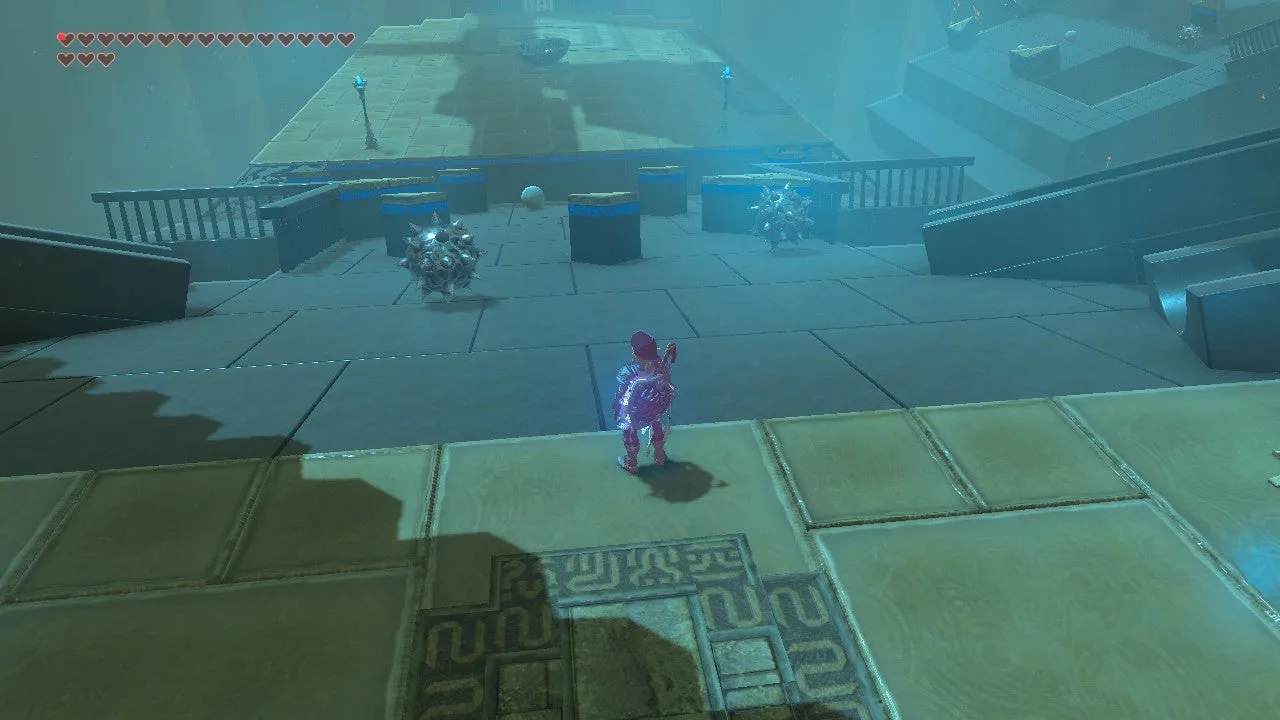
2. Catch the rolling chest and the large orb
Stand on the bowl platform and activate Magnesis. Extend the bowl towards the moving objects with its opening facing up. Bring a caught object back slowly; a sharp movement can throw it out again.
Catch the rolling treasure chest and lower it onto solid ground. Open it for five Bomb Arrows. Then catch a large glowing orb, lower it over the large socket beside this area, and gently tip it out. The nearby gate opens onto the Phrenic Bow chest. A rock without the glowing pattern does not replace the puzzle orb.
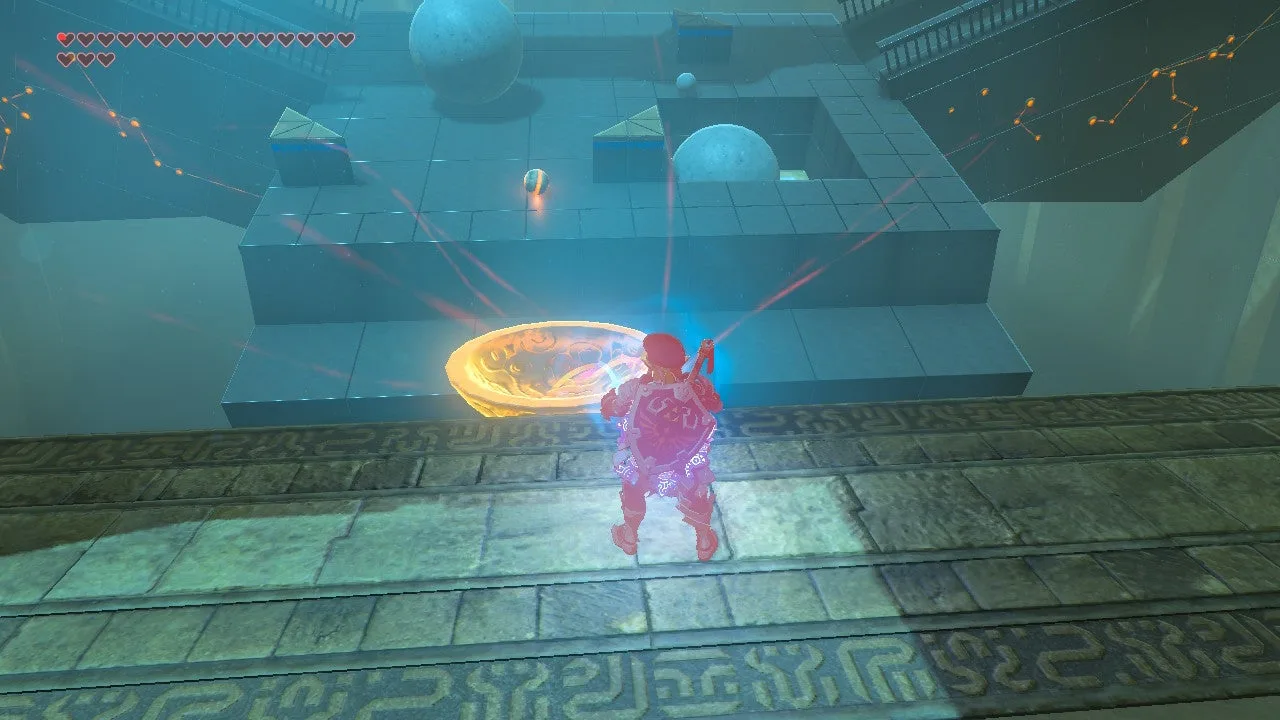
3. Bring the small orb back to the entrance
Catch a small glowing orb with the same bowl. Return towards the first slope, but avoid walking uphill while trying to watch both the bowl and the rolling hazards. From safe footing, extend the bowl towards the entrance side and set the orb down on solid ground away from the rolling lane. Release Magnesis, cross the slope when the way is clear, then retrieve the orb.
Place the small orb in the entrance socket. That opens the monk’s gate; go through and claim the Spirit Orb.
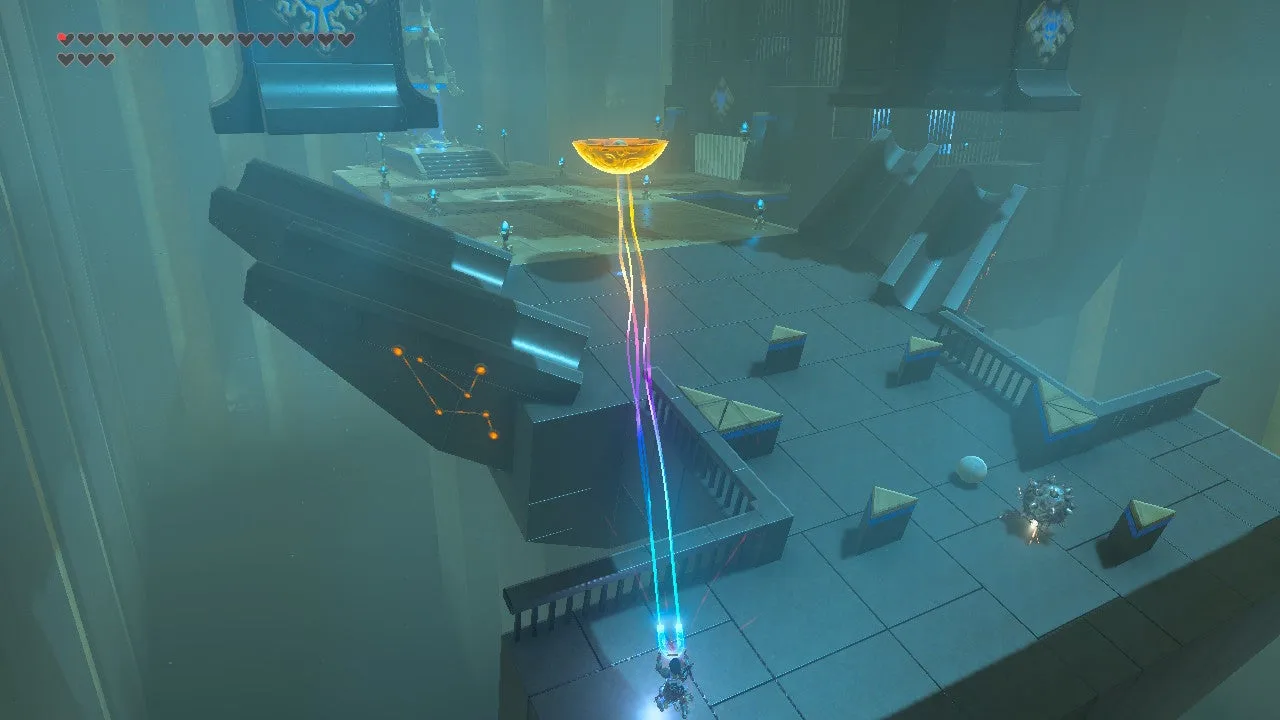
Where are the treasure chests?
| Chest | Contents | How to collect it |
|---|---|---|
| Rolling chest | Bomb Arrow ×5 | Catch it with the bowl and lower it onto the safe platform |
| Gated side chamber | Phrenic Bow | Put the large glowing orb in the large socket near the bowl platform |
Both chests are optional. The small orb and the socket near the entrance are the route to completion.
What are the main dangers?
- Watching the bowl instead of the slope. Stand somewhere safe before using Magnesis; pause before moving your own feet.
- Jerking the bowl backwards. Move steadily so the orb stays inside. If it falls away, catch another instead of jumping after it.
- Mixing up the sockets. Large orb for the bow chest; small orb for the monk’s gate.
- Leaving immediately after opening the main gate. Check that you have collected the rolling chest as well as the gated chest if you want both.
Which trial should you tackle next?
Continue with Rohta Chigah’s trap course, Etsu Korima’s dark rooms, or Ruvo Korbah’s Guardian battles. The Champions’ Ballad overview connects all four camps and the later Champion trials.
FAQ
Why has Yowaka Ita Shrine not appeared?
Which orb opens the way to the monk?
Where are both treasure chests?
Related Articles
shrines
Kamia Omuna Shrine Guide: Moving Targets (BotW)
Defeat the Igneo Talus Titan at Lake Darman, time Kamia Omuna’s cannon shots, rotate the target cage, and recover its Diamond chest in Breath of the Wild.
shrines
Kee Dafunia Shrine Guide: The Melting Point (BotW)
Pass the sunrise ring, melt ice into stairs, reveal the Frostblade chest, and lift the final ice cube in Kee Dafunia Shrine in Breath of the Wild.
shrines
Keive Tala Shrine Guide: Big or Small (BotW)
Defeat the Molduking to reveal Keive Tala Shrine, connect its metal-and-water circuit, and solve the laser puzzle for a Radiant Shield in Breath of the Wild.
Was this helpful?
Thanks for the feedback!