

TotK Addison's Hudson Signs: All 81 Locations and Rewards
All 81 Hudson signs Addison holds up in Tears of the Kingdom, by region on a map, plus how to prop them up and what he pays.
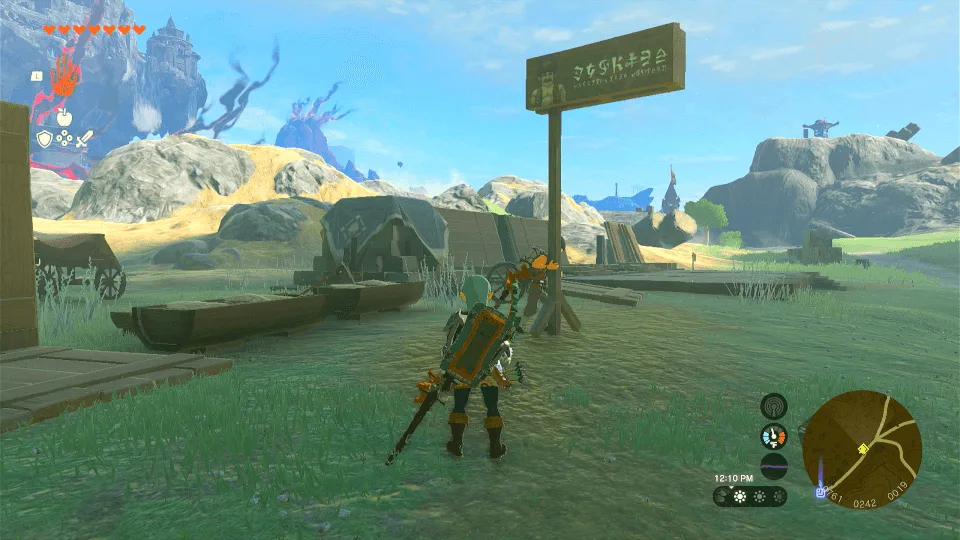
Addison works for Hudson Construction in The Legend of Zelda: Tears of the Kingdom, and President Hudson has sent him out to put up advertising signs. They fall over the moment he lets go, so he stands there holding each one. The game gives this little puzzle no name; players call them Hudson signs or Addison signs. Prop a sign up for him and he pays you every time. This page lists all 81 by region on a map, then covers how to do it and what you get.
Where are all 81 signs?
Loading the terrain map… slow connections can take a few seconds.
Some terrain tiles failed to load.
Drag to move and zoom in to tell the points apart; on a computer, click the map first and the mouse wheel zooms it. Ticks are saved in this browser only; no account is needed.
Progress cannot be saved in this browser session.
All 81 are on the surface; there are none in the sky or the Depths. The landmark is the nearest named place on the map, and the sign itself is usually beside a road, a stable or a village. Once a sign stays up, Addison fixes it in place and leaves for the next one, so a braced sign with nobody beside it is one you have done.
Hyrule Field (19)
Click “Show on map” to move the map above to that spot.
| # | Nearest landmark | Region | Location |
|---|---|---|---|
| 1 | Applean Forest | Hyrule Field | Show on map |
| 2 | Aquame Lake | Hyrule Field | Show on map |
| 3 | Exchange Ruins | Hyrule Field | Show on map |
| 4 | Forest of Spirits | Hyrule Field | Show on map |
| 5 | Gerudo Canyon Pass | Hyrule Field | Show on map |
| 6 | Hyrule Castle Moat | Hyrule Field | Show on map |
| 7 | Hyrule Castle Town Ruins | Hyrule Field | Show on map |
| 8 | Hyrule Ridge | Hyrule Field | Show on map |
| 9 | Lake Hylia | Hyrule Field | Show on map |
| 10 | Lake Hylia | Hyrule Field | Show on map |
| 11 | Ludfo's Bog | Hyrule Field | Show on map |
| 12 | Mabe Prairie | Hyrule Field | Show on map |
| 13 | Mount Gustaf | Hyrule Field | Show on map |
| 14 | Mount Rhoam | Hyrule Field | Show on map |
| 15 | Nima Plain | Hyrule Field | Show on map |
| 16 | Owlan Bridge | Hyrule Field | Show on map |
| 17 | Rutile Lake | Hyrule Field | Show on map |
| 18 | Salari Hill | Hyrule Field | Show on map |
| 19 | Trilby Plain | Hyrule Field | Show on map |
Lanayru (11)
Click “Show on map” to move the map above to that spot.
| # | Nearest landmark | Region | Location |
|---|---|---|---|
| 1 | Brynna Plain | Lanayru | Show on map |
| 2 | Cliffs of Quince | Lanayru | Show on map |
| 3 | Eagus Bridge | Lanayru | Show on map |
| 4 | Lanayru Road - West Gate | Lanayru | Show on map |
| 5 | Lodrum Headland | Lanayru | Show on map |
| 6 | Mercay Island | Lanayru | Show on map |
| 7 | Mount Lanayru | Lanayru | Show on map |
| 8 | Rebonae Bridge | Lanayru | Show on map |
| 9 | Ruto Lake | Lanayru | Show on map |
| 10 | Ternio Trail | Lanayru | Show on map |
| 11 | Zora River | Lanayru | Show on map |
Necluda (11)
Click “Show on map” to move the map above to that spot.
| # | Nearest landmark | Region | Location |
|---|---|---|---|
| 1 | Ash Swamp | Necluda | Show on map |
| 2 | Bonooru's Stand | Necluda | Show on map |
| 3 | East Necluda | Necluda | Show on map |
| 4 | Gama Cove | Necluda | Show on map |
| 5 | Lakeside Stable | Necluda | Show on map |
| 6 | Mapla Point | Necluda | Show on map |
| 7 | Midla Woods | Necluda | Show on map |
| 8 | Ovli Plain | Necluda | Show on map |
| 9 | Sahasra Slope | Necluda | Show on map |
| 10 | Samasa Plain | Necluda | Show on map |
| 11 | Temto Hill | Necluda | Show on map |
Eldin (9)
Click “Show on map” to move the map above to that spot.
| # | Nearest landmark | Region | Location |
|---|---|---|---|
| 1 | Bridge of Eldin | Eldin | Show on map |
| 2 | Death Mountain | Eldin | Show on map |
| 3 | Death Mountain West Site | Eldin | Show on map |
| 4 | Eldin Mountains | Eldin | Show on map |
| 5 | Foothill Stable | Eldin | Show on map |
| 6 | Gut Check Rock | Eldin | Show on map |
| 7 | South Akkala Stable | Eldin | Show on map |
| 8 | Southern Mine | Eldin | Show on map |
| 9 | Thyphlo Ruins | Eldin | Show on map |
Gerudo (7)
Click “Show on map” to move the map above to that spot.
| # | Nearest landmark | Region | Location |
|---|---|---|---|
| 1 | East Barrens | Gerudo | Show on map |
| 2 | Gerudo Canyon | Gerudo | Show on map |
| 3 | Gerudo Canyon Stable | Gerudo | Show on map |
| 4 | Koukot Plateau | Gerudo | Show on map |
| 5 | Meadela's Mantle | Gerudo | Show on map |
| 6 | Palu Wasteland | Gerudo | Show on map |
| 7 | Yarna Valley | Gerudo | Show on map |
Akkala (6)
Click “Show on map” to move the map above to that spot.
| # | Nearest landmark | Region | Location |
|---|---|---|---|
| 1 | Bloodleaf Lake | Akkala | Show on map |
| 2 | East Akkala Stable | Akkala | Show on map |
| 3 | Lake Akkala | Akkala | Show on map |
| 4 | Octorok Lake | Akkala | Show on map |
| 5 | Skull Lake | Akkala | Show on map |
| 6 | Ulria Grotto | Akkala | Show on map |
Hebra (6)
Click “Show on map” to move the map above to that spot.
| # | Nearest landmark | Region | Location |
|---|---|---|---|
| 1 | Hebra Trailhead Lodge | Hebra | Show on map |
| 2 | North Tabantha Snowfield | Hebra | Show on map |
| 3 | Pikida Stonegrove | Hebra | Show on map |
| 4 | South Tabantha Snowfield | Hebra | Show on map |
| 5 | Sturnida Secret Hot Spring | Hebra | Show on map |
| 6 | Talonto Peak | Hebra | Show on map |
Tabantha (5)
Click “Show on map” to move the map above to that spot.
| # | Nearest landmark | Region | Location |
|---|---|---|---|
| 1 | Kolami Bridge | Tabantha | Show on map |
| 2 | Lake Illumeni | Tabantha | Show on map |
| 3 | Lake Totori | Tabantha | Show on map |
| 4 | Mount Drena | Tabantha | Show on map |
| 5 | Tanagar Canyon | Tabantha | Show on map |
Faron (4)
Click “Show on map” to move the map above to that spot.
| # | Nearest landmark | Region | Location |
|---|---|---|---|
| 1 | Haran Lake | Faron | Show on map |
| 2 | Oseira Plains | Faron | Show on map |
| 3 | Pappetto Grove | Faron | Show on map |
| 4 | Spring of Courage | Faron | Show on map |
Great Hyrule Forest (3)
Click “Show on map” to move the map above to that spot.
| # | Nearest landmark | Region | Location |
|---|---|---|---|
| 1 | Drenan Highlands | Great Hyrule Forest | Show on map |
| 2 | Pico Pond | Great Hyrule Forest | Show on map |
| 3 | Rowan Plain | Great Hyrule Forest | Show on map |
How do you prop up Addison’s sign?
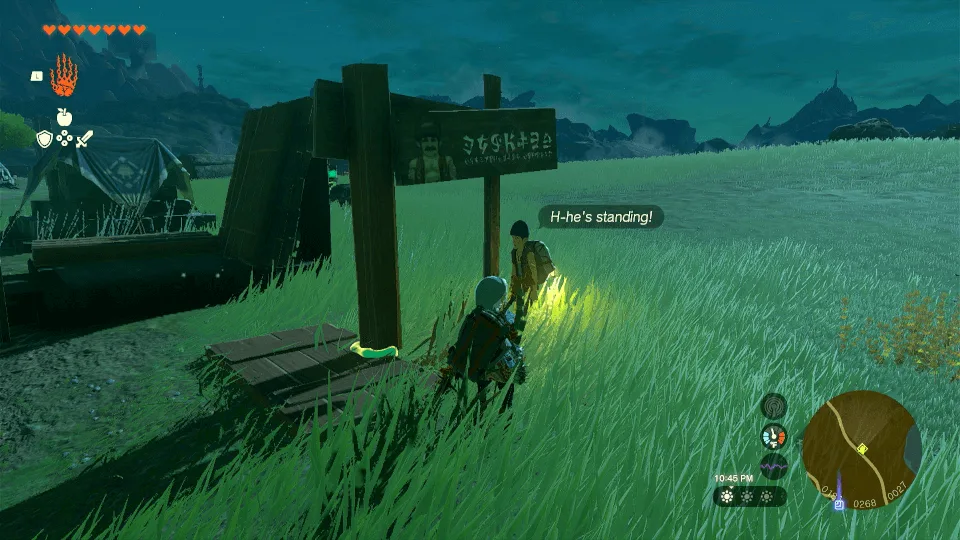
- Build the support first. Use Ultrahand to join the nearby materials and set them on the side the sign will fall towards, so they brace it or hold it from below.
- Talk to Addison and pick “Try letting go!” He answers “What?! Are you going to support him? All right. I’ll let go!” and releases the sign. “I’ll leave you to it.” does nothing.
- Wait for the sign to settle. If it stays up he calls out “H-he’s standing!” Talk to him again and he fixes the sign in place and hands over the rewards.
- If it falls, go again. He shouts “Whoa! Unforgivable!” and lifts it back up. Change the support and talk to him again; there is no limit.
The first time you meet him, speaking to him startles him into dropping the sign once. That is scripted and is not a failed attempt. In rain, heat or cold he holds the sign just the same and only his lines change (“Here for you, even wet!”); the puzzle works the same way.
Builds for the common cases
- Let it fall once. An oddly shaped sign does not always fall the way you expect. Have him let go with nothing built, watch which way it goes, then build. You can always try again.
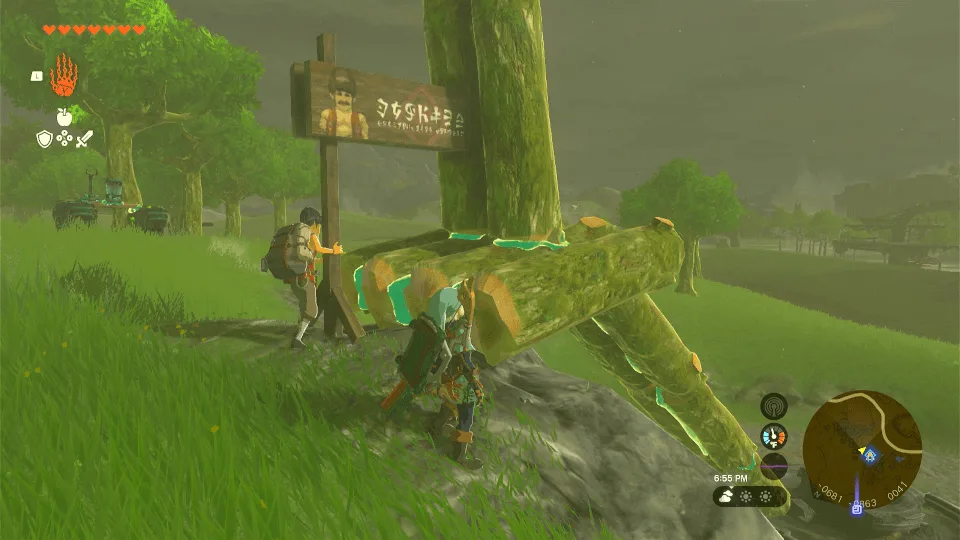
- Use the materials beside him. Addison is usually near a material cache, and its boards and wheels all work. The quickest build is two or three boards joined into a wall or a frame and stood on the falling side for the sign to lean on.
- Signs that hang to one side. Some carry two or three panels, or stick out to one side, so the weight is off the post. Make the support taller and put it right under the overhanging panel.
- Signs on a slope. Put the support on the downhill side and give it a large board as a base so it does not slide away itself.
- No materials nearby. Cut down a tree for logs or carry over nearby rocks. They work just as well.
- Use a Stake. The Stake, a Zonai device, drives into the ground and holds a build in place. Add one to your support and almost any build will stand.
- It does not have to be dead straight. A sign that leans a little still counts. If it leans too far, or the support is so far away that the sign tips over onto it, Addison treats it as fallen.
What does each sign pay?
Once the sign is fixed, Addison hands over three things in a row:
| Order | What he says | What you get |
|---|---|---|
| 1 | “Take this with my thanks.” | 20 rupees (one Red Rupee) |
| 2 | “Let me give you a little something I made myself!” | A meal, usually rice balls; its effect often suits the area, such as cold resistance in a cold region |
| 3 | “This is a little something from my premium collection.” | A material or item: most often a Puffshroom, Muddle Bud or Bomb Flower, sometimes a Sleepover Ticket |
If your meal slots are full, the second gift is said to be another Red Rupee instead.
What is the reward for all 81?
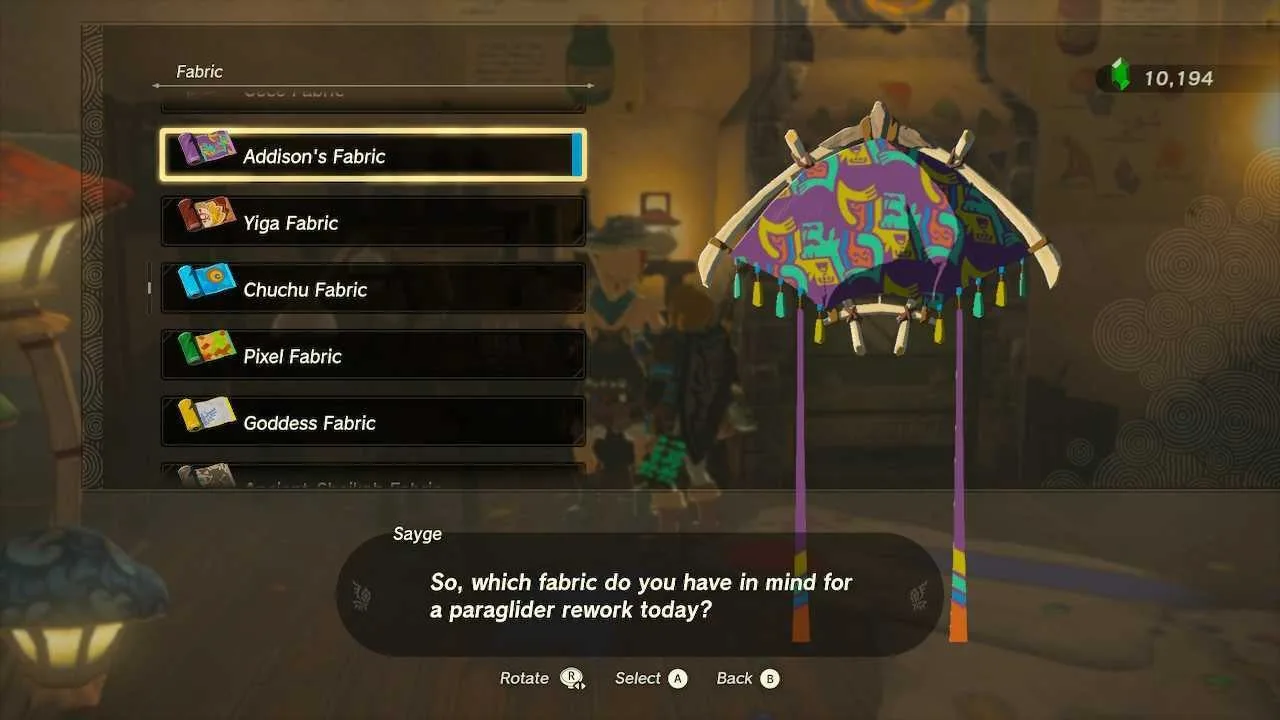
At the last sign Addison hands over the usual three gifts, realises “I’m all out of signs!” and gives you “a very special present”: Addison’s Fabric. The game describes it as “Tough fabric bearing an image of Hudson, hand-drawn by Addison. It looks like it could be used to make a paraglider.”
You get it only for finishing all 81; there are no rewards at earlier milestones. Take the fabric to Sayge at Kochi Dye Shop in Hateno Village to put it on the paraglider.
Addison then says he is going back to Tarrey Town to tell Hudson the news, but you will meet him again at stables around Hyrule: the Stable Trotters’ music has caught him, and he listens to them in the same pose he used to hold the signs.
See also
- Interactive map: see the signs with every other marker on the full map.
- Zonai devices: what the Stake and the other devices do and where to get them.
- All 139 side quests
- More location lists: cherry blossom trees, ancient tablets, Goddess Statues and all 147 caves.
FAQ
How many Addison signs are there?
What do you get for helping Addison with a sign?
What is the reward for all 81 Hudson signs?
Can you try again if the sign falls?
Related Articles
guides
TotK Inventory Expansion: Hestu Locations and Korok Seed Costs
Expand weapon, bow and shield slots in Tears of the Kingdom: Hestu at Lindor’s Brow, Lookout Landing and Korok Forest, slots and every upgrade cost (421 total).
guides
TotK Temperature and Weather: Sky Cold, Volcano Heat, Storms, Depths
Tears of the Kingdom temperature and weather: Great Sky Island cold, Gerudo day and night, volcanic heat, lightning, slippery rain and the dark Depths.
bosses
BotW Bokoblins: Every Rank, HP, Drops and Spawn Map
Every Bokoblin in Breath of the Wild, red to Golden, plus Stalkoblins: HP, drops and gem chances, weak points, quick kills and a map of all 1,060 placed Bokoblins.
Was this helpful?
Thanks for the feedback!